Hi Everyone!! I’m back with one more project!! I also wanted to use this post to say goodbye to Donna's Team L
I had to cut my final term with Donna
short, due to my personal life being so crazy busy right now. I have enjoyed being on Donna’s team for
close to three years as a guest designer and then a regular designer. It was so fun and these girls have all been
amazing!! They are super talented and inspirational!! I will miss working with all of them!!
For my last little project, I made a
flower, which I don’t do very often.
This particular flower can be used for many different kinds of
projects. I made a larger one for my
daughters hair and I downsized another one just a little to do a tutorial on
it. My daughter calls these her Loopsy Flower, so that’s what I called it too.
You will need eight 1/2"x4" strips of your favorite paper. (For the larger flower, like the one I made for Brooky, use twelve 1/2"x6" strips of paper)
Distress and Ink your edges.
Fold your paper in half and glue. I used little glue dots for mine.
Next fold another piece and overlap the first loop as shown below. About a 1/2" overlapped.
Continue around the flower as shown in the next few photos.
Next you can decorate the middle however you like and you are all done.
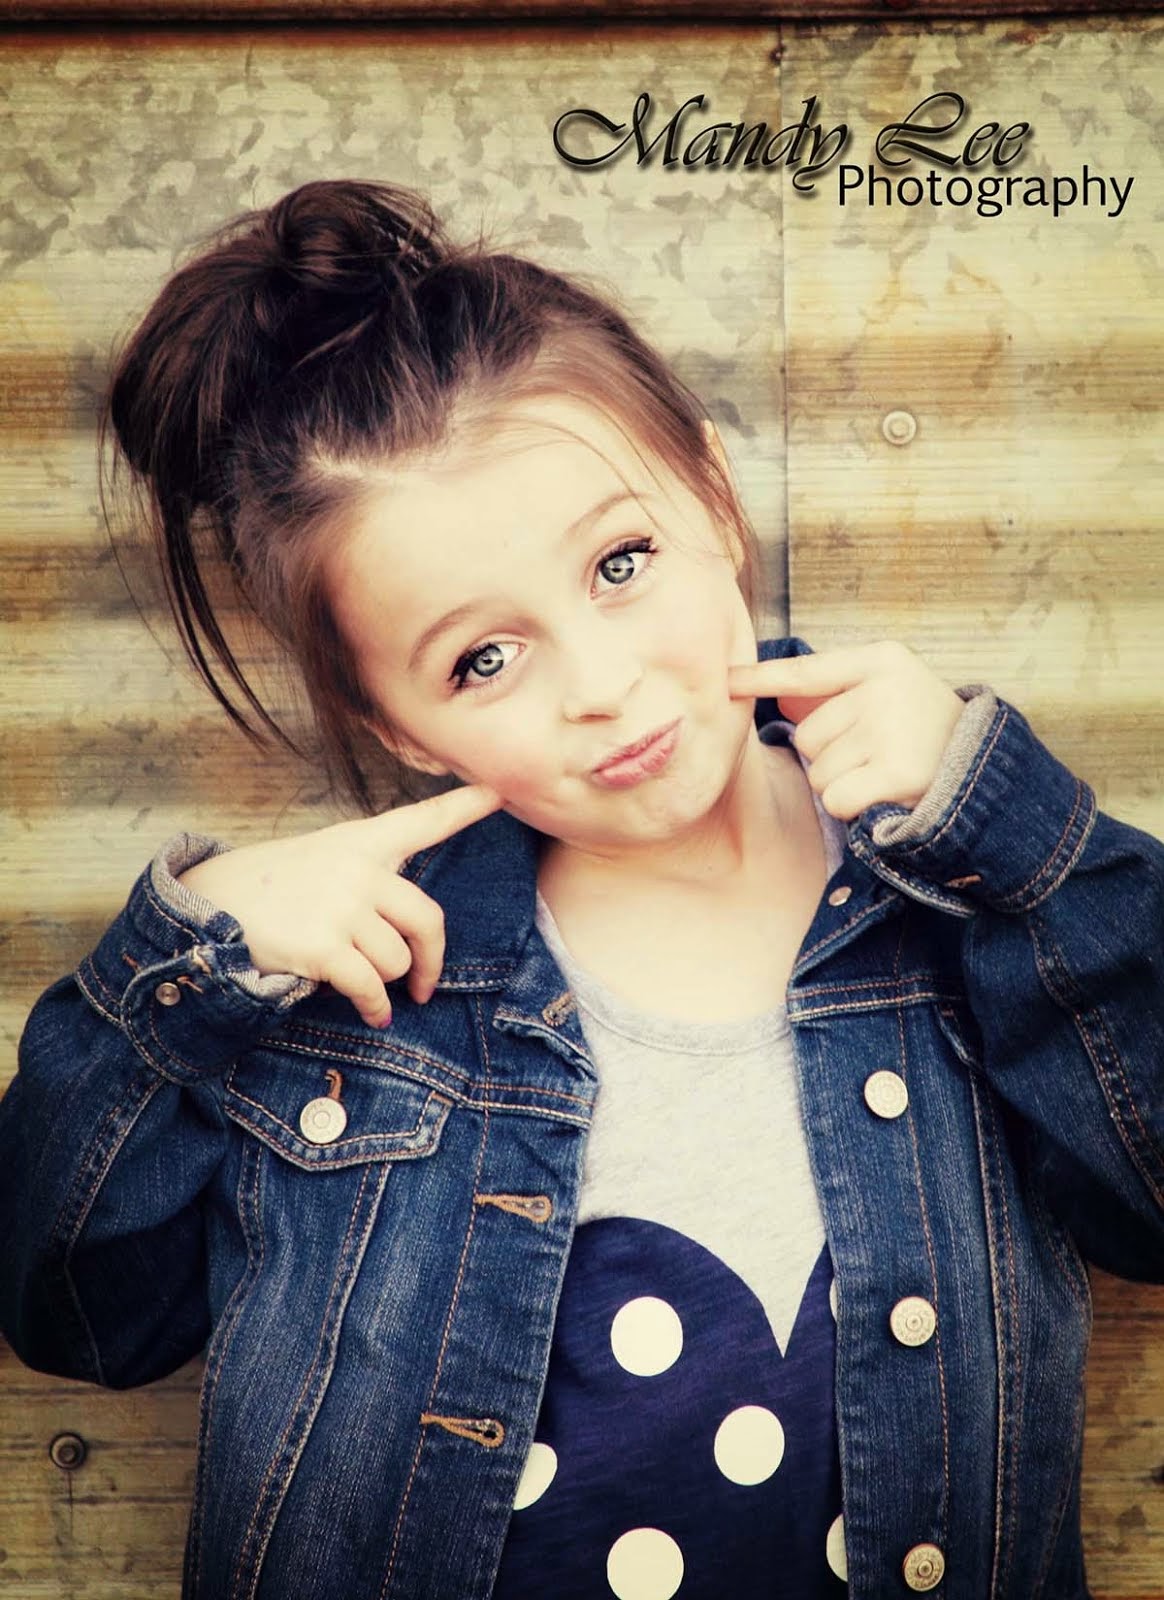
Here are a couple more shots of her with the flower I did for her. I just used a couple bobby pins to fasten it to her hair.
Thanks for stopping and thank you so much for all the wonderful comments you have all left me over the past few seasons!! Below is a list of items I used for this flower!!
Paper:
GCD Studios Fun and Funky
Ink:
Mix'd Media Chox Inx - Petals
Tools:
Clearsnap Colorbox Stylus Handles and Tips
Zutter Distrezz it All
Miscellaneous:
Flowers
Cheese Cloth


Thanks so much for sharing this idea. It's lovely and very simple to make. Fran (Quick Silver @ sb.com)
ReplyDelete